Sunday, October 13, 2013

10/7/13-10/11/13

This week in AP Chemistry we continued work on Lewis structures and VSEPR theory. Additionally, we learned the concepts such as formal charge and polarity.

Near the beginning of the week, we finished up the balloon/gumdrop activity, which pertained to VSEPR theory. While Lewis structures help to understand the composition and covalent bonds of molecules, VSEPR theory (short for "valence shell electron pair repulsion") allows us to predict the shape of molecules. There are two main categories in VSEPR theory: electron domain geometry and molecular domain geometry. In predicting a molecules electron domain geometry, we assume that electron pairs are placed as far apart as possible. Electron pairs are referred to as electron domains; one electron pair is equal to one electron domain. Double and triple bonds also only count as one electron domain. To determine electron domain geometry, one first counts the number of electron domains and then chooses the corresponding shape. Pictured below are several electron domain geometries.  

Different electron domain geometries. For two electron domains, the shape is linear. For three domains, the shape is trigonal planar. For four domains,  the shape is tetrahedral. For five domains, the shape is trigonal bipyramidal. For six electron domains, the shape is octahedral.  
Molecular domain geometry is slightly different. It is defined by the positions of only the atoms and not the nonbonding electron pairs. Here are some examples of molecular geometries:


When there are two electron domains, the following molecular geometries are possible:
  • AB2 - linear

When there are three electron domains, the following molecular geometries are possible:
  • AB3 - trigonal planar
  • AB2E - bent
  • ABE3 - linear (this is a rare occurrence)
When there are four electron domains, the following molecular geometries are possible:
  • AB4 - tetrahedral
  • AB3E - trigonal pyramidal
  • AB2E3 - bent
  • ABE3 - linear
When there are five electron domains, the following molecular geometries are possible:
  • AB5 - trigonal bipyramidal
  • AB4E - seesaw
  • AB3E2 - t-shaped
  • AB2E3 - linear
When there are six electron domains, the following molecular geometries are possible:
  • AB6 - octahedral
  • AB5E - square pyramidal
  • AB4E2 - square planar

To help learn the concept of molecular and electron domain geometry, I completed a POGIL in class and made models of molecules using gumdrops and toothpicks. I also watched a lecture on VSEPR theory. While I feel I have a decent understanding of this subject, I feel I could use more practice determining the molecular geometry and electron domain geometry. I sometimes get confused with differentiating between the two kinds of geometries, as the electron domain geometry involves lone pairs of electrons and the molecular geometry does not.

We also covered the concept of formal charge in class.  Formal charge is equal to the number of valence electrons in a free atom minus the number of bonds plus the number of nonbonding electrons. The sum of each individual formal charge of each atom in a molecule must be equivalent to the total charge of the molecule. If there are multiple structures for a molecule, the molecule with the lowest formal charge is preferred. If there is a negative formal charge, it should be on the least electronegative atom if there is a choice. If the central atom is in period three or higher, multiple bonds are possible if it will reduce the formal charge of the molecule. To help me learn formal charge, I had to view a lecture on formal charge. In class, I completed the Lewis Structures III POGIL and the Lewis Structures IV POGIL, both of which dealt with formal charge. I felt I had a relatively strong grasp of this concept, although I sometimes have trouble finding which Lewis structure has the lowest formal charge when there is more than one possible structure.

Finally, we touched on the concept of polarity in a lecture that was assigned last week. An molecule is polar when its electrons are not shared equally. Shared electron pairs in polar covalent bonds are not shared equally, while electron pairs in nonpolar covalent bonds are shared equally. Between the atoms of molecule, the greater the difference in electronegativity, the more polar the bond. Molecular polarity is possible and is calculated by adding up the individual bond dipoles. One thing I did not understand about polarity is the "dipole moment." From the lecture and from various sources online I was unable to gather a clear definition. I know it pertains to electrical charge and electrons, but I feel I need a concrete definition in my head to best understand what a dipole moment is.

Sunday, October 6, 2013

9/30/13-10/4/13

This week in AP Chemistry, I continued to learn about Lewis structures. Over the course of the week I was introduced to the topics of bond order, resonance, hypervalency, and covalency. Bond order is the number of chemical bonds between a pair of atom. A single bond has a bond order equal to one, a double bond has a bond order equal to two, and so on and so forth. To help learn the concept of bond order, I completed the Lewis Structures Part 2 lecture at home and completed a POGIL on Lewis structures in class.

Resonance is a term used to describe a situation in which there are more than one valid Lewis structures for a given molecule. Initially I was unsure of the exact definition of resonance, but this website gave a nice concise definition. The Lewis Structures II POGIL and the Lewis Structures Part 2 lecture dealt with this topic.

Possible resonance structures of NO3. The double headed arrows indicate interchangeability (all three structures are valid). 
If there are multiple valid Lewis structures, the bond order is affected. This was a point of confusion for me. Initially, after watching the Lewis Structures Part 2 lecture, I came under the impression that the bond order was equivalent to the number of bonds divided by the number of possible structures for a molecule. However, after starting the POGIL on Monday I discovered that this was certainly not the case. I learned that bond order between two atoms was simply equivalent to the number of bonds present. I am still confused as to how resonance affects bond order. I have searched online to find an answer, but I have not found one that makes it clear to me.

Hypervalency is a situation in which there is more than eight electrons around an atom in a molecule. When making a Lewis structure, if you satisfy the octet rule for all of the outer and central atoms and still have extra valence electrons, distribute them about the central atom. This is only possible if the central atom is in period 3 or greater.
In the PCl5 molecule, the Phosphorus atom is hypervalent. It exceeds the octet rule and has 10 valence electrons.  
When considering hypervalency, size is important. The larger the central atom, the larger the number of electrons that can surround it. Expanded octet most often occurs when the central atom is bound to atoms with high electronegativity such as Fluorine, Chlorine, or Oxygen. To learn the concept of hypervalency, I watched the Lewis Structures Part 3 lecture. The concept was also part of the VSPER Theory POGIL we started in class on Friday. I found most of this topic easy to understand. With that being said, I thought the portion in the lecture that explained how the expanded octet is possible was very confusing.

Covalency was the final new topic we covered this week. In the lecture on Covalency, I learned that molecules with covalent bonds stay together because the force of repulsion between protons is weaker than the force of attraction between protons and electrons. Electrons are said to be "paired" when they have opposite spins and enter the domain of the other. Additionally I learned that as bond order increases, strength increases.

Overall I though I understood most of the concepts covered this week well, with the exception of the relationship between resonance and bond order as well as the part of hypervalency that I explained earlier.

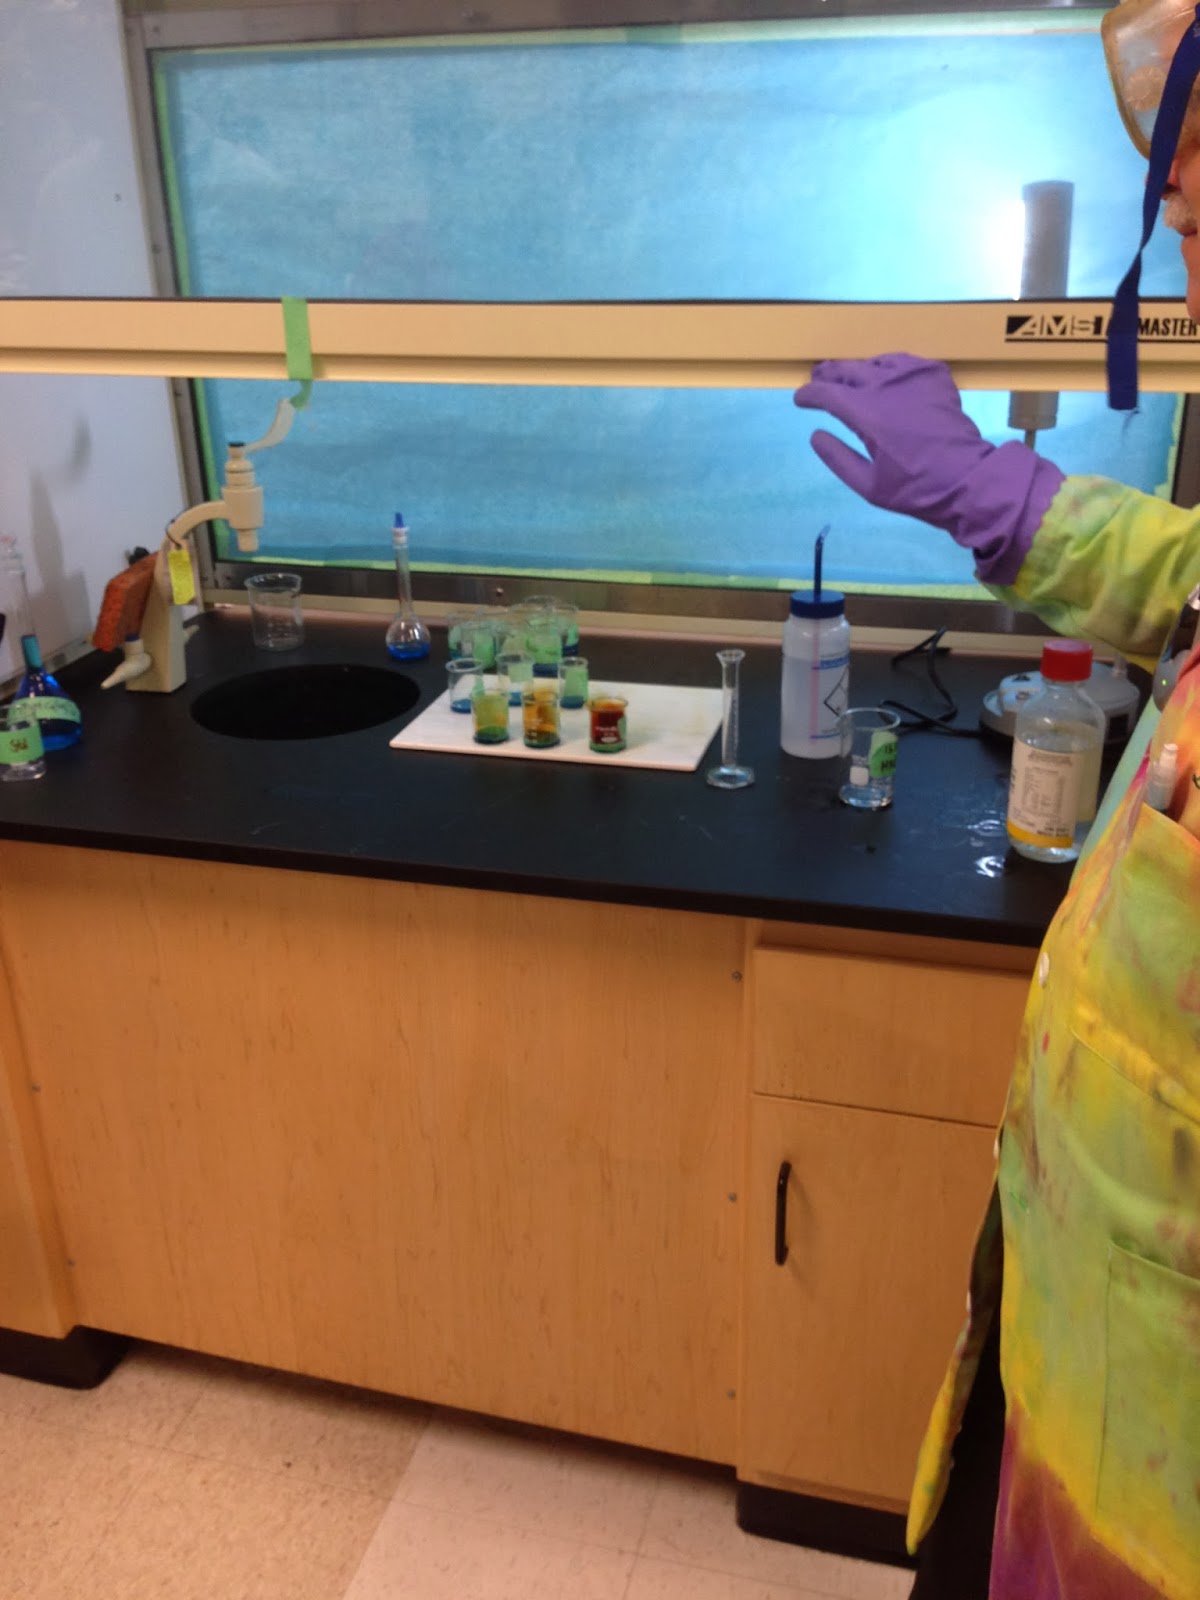
In addition to learning these concepts, we did a stoichiometry-related lab in class on Wednesday and Thursday. The purpose of the lab was to find the percentage mass of copper in a brass screw. In the lab, we took a brass screw and dissolved it in nitric acid under the fume hood, which produced both toxic NO2 gas and a liquid, Cu(NO3)2.
The brass screws react with nitric acid to produce a blue liquid, Cu(NO3)2, and a brown gas, NO2.
Then, half of the groups made dilutions with the Cu(NO3)2 liquid, measured their absorbance, calculated concentration, and made a calibration curve. The other groups (mine included) tested the visual comparison method of calculating concentration. In this process, you filled two beakers with solution. One beaker had stock solution and the other had the product of the brass screw/nitric acid reaction, known as the "mystery solution". The beaker with mystery solution was filled until its color matched that of the stock solution. The depth of each solution was then measured and then the concentration of the mystery solution was calculated with the equation:

(Molarity1)(Depth1) = (Molarity2)(Depth2)    

The lab was fairly straight forward. I think my work on it is an improvement over my work on the previous lab. Now that I have a little bit of experience doing labs, I am more comfortable and the work in my lab notebook is much tidier. I am unsure when the lab is due and would like to know so I know when to start working on the post-lab questions.

Saturday, September 28, 2013

9/23/13-9/27/13

This week in AP Chemistry I took the second exam of the school year. The test covered stoichiometry, which I have been learning since the beginning of the year, and was held on Wednesday. To prepare for the test, we reviewed many of the concepts of stoichiometry in class using socrative.com. Additionally, to prepare for the test I watched a lecture on no-calculator math and completed three no-calculator math hotpots. I used the hot potato quizzes to study, doing each quiz two times. After starting to do the hotpots I became worried about the exam. I was able to complete the hotpots with most of the correct answers, but it was taking me too much time. Upon looking at a problem, it would take me a while to delineate what calculations to use to find the solution. However, I resolved this problem by simply practicing the quizzes again and by figuring out the shortest way to achieve the correct solution. I felt comfortable with the majority of the concepts of stoichiometry, so I primarily studied using the no-calculator math quizzes. On the test I got a B on the multiple choice portion. I have not seen the corrected copy of my test, however, I assume that I lost points on the questions where I had to chose an appropriate diagram of a given reaction. These were the problems on the hot potato quizzes that I had the most trouble with. On the free response I got a perfect score. Despite the fact that I got an 86 on the multiple choice, overall, I was satisfied with my performance on the stoichiometry exam. I was anticipating getting a far worse score prior to taking the exam. Nevertheless, I still would like to come in after school to see what problems I got incorrect.

After the test on Wednesday, we moved on to learning about Lewis dot diagrams. Lewis dot diagrams are renderings of substances that also show the number of valence electrons per atom and covalent bonds in the substance. To make one of the diagrams, you first write the element symbols. Then, you draw dots around the elements where there are valence electrons and dashes where there are covalent bonds. The total number of valence electrons in the substance should be accurately represented in the diagram. The diagrams should also follow the octet rule (atoms tend to have eight electrons in their outer shell). Sometimes, Lewis dot diagrams do not include the dots that represent valence electrons. However, for AP Chemistry it is always necessary to include dots in the diagrams.

Examples of Lewis Dot Diagrams. Valence electrons are represented by dots, while covalent bonds are represented by dashes.

To help learn about the Lewis dot diagrams, I completed a POGIL in class with my group and watched two lectures on the diagrams at home this weekend. I also found this website which offers a good summary on how to properly draw the diagrams. At first, I was unclear as to how to determine how many bonds to place in the Lewis dot structure, but the lecture helped to clear this up for me. Other than that, I believe I understood the Lewis dot diagrams well.

Sunday, September 22, 2013

9/16/13-9/20/13

This week in AP Chemistry, I continued to learn about stoichiometry. However, this week it became more complicated as limiting reactants, excess reactants, and yield were added into the mix. To help learn the concept of limiting reactants, I completed several worksheets, including Stoichiometry 6 & 7. I also viewed a lecture on limiting reactants. Limiting reactants are reactants that limit the amount of substance that is produced in a chemical reaction. To determine the limiting reactant, you calculate the amount of product produced by each reactant. Whichever reactant produces the least amount of product is the the limiting reactant.

An example of how to find the limiting reactant from the worksheet Stoichiometry 6. 153.5 g of carbon monoxide produces in 175.6 g of methanol. 24.50 g of hydrogen produces 194.0 g of methanol. Since carbon monoxide produces a lesser amount of methanol, it is the limiting reactant.  
I found this concept straightforward and easy to understand. The concept behind excess reactants is similar. When the limiting reactant is used up there is excess of the other reactant. This is the excess reactant. Initially, I did not fully understand how to determine the amount excess reactant. However, after searching online, I found this website which helped me to understand the how to calculate excess reactant. To help learn the concept of excess reactants, I completed the Reaction Particle Diagrams worksheet in class.

I found the concept of yield straightforward as well. There are two kinds of yield: theoretical yield and actual yield. Theoretical yield is the calculated maximum amount of product possible from a given amount of reactant. Actual yield is the measured amount of product experimentally produced from a given amount of reactant. Percentage yield can be determined by the following equation:


In order to understand the concept of yield, I had to complete the Stoichiometry 8 worksheet, which is comprised of problems in which one must calculate the percentage yield of reactions.

Additionally, this week I was introduced to the concept of empirical formulas. An empirical formula is a formula that represents the simplest ratio among the elements of a compound. (for example, the empirical formula of glucose, C6H12O6 is CH2O). Ionic compounds are always empirical formulas. Molecular formulas are sometimes empirical formulas. I was required to complete the Empirical Formulas 1 worksheet, in which I had to determine the empirical formula of compounds when given the mass composition of each compound.

I found in class this week that we completed many of the stoichiometry worksheets by having different groups writing the answers on whiteboards. While this is one way to learn the concepts, I found myself mindlessly copying down the answers. I think that I learn more effectively when there is a lecture quiz that offers guidance on the worksheet and I must complete most of the worksheet on my own.

With that being said, I feel as though I have a relatively strong understanding of all of these concepts. However, at the same time I think that some more practice would certainly not hurt. I will review the worksheets I did this week before the test this upcoming week.

Sunday, September 15, 2013

9/9/13-9/13/13

This week in AP chemistry, I learned more about the mole and was introduced to the concept of molarity. A mole of anything equals 6.022 x 10^23 of that thing (For example, a mole of atoms is 6.022 x 10^23 atoms, a mole of molecules is 6.022 x 10^23 molecules, etc. There could even be a mole of moles, 6.022 x 10^23 moles). The mole is not a measure of mass, but is rather a quantity. The mole's mass depends on the mass of the substance. The mass of a mole of a substance equals the atomic mass of the substance, but in grams instead of atomic mass units. For example, an atom of Hydrogen has a mass of 1.01 amu while a mole of Hydrogen has a mass of 1.01 g. To help learn the concept I had to complete a lecture quiz on the mole as well as the Stoichiometry 1 & 2 worksheet. Additionally, we worked on an in class worksheet that included calculations involving the mole.

The Stoichiometry 1 & 2 tied into another concept that I learned this week, dimensional analysis. Dimensional analysis is a method of calculating that involves units. By using dimensional analysis, you can make sure that you are doing the correct kind of calculations and ensure that you are ending with the correct unit. In addition to the Stoichiometry 1 & 2 worksheet, I also had to complete a lecture quiz on dimensional analysis.

In addition to the mole, I learned about molarity. As one can tell from the name, molarity is related to the mole. Molarity (M) equals the moles of the solute divided by the volume of the solution in liters. It is one way to measure the concentration of a solution. Molarity was a central part of a lab that I completed over the course of the latter half of the week. In the lab, I measured absorbance of solutions composed of stock solution (water with blue #1 dye) and water, as well as the absorbance of blue Gatorade. I accomplished this with a partner using a device called a Spectrophotometer. As a class, we calculated the concentration of the solutions using the equation M1 x V1 = M2 x V2. I was initially unclear as to how the concentration was calculated. However, as I finished up the lab this weekend I figured out how this was accomplished. Additionally, I was not entirely sure I did some of the post-lab questions correctly. I struggled with the question that asked you to determine the molar concentration of the blue #1 in the sports drink. I know that we covered how to do that using Beer's law in class, but I still do not fully understand Beer's law. From the notes I took in class I was able to calculate the concentration of these substances, but I am unsure if my calculations are correct. This also made me unsure of the subsequent question (which read: "Determine the mass of the blue dye #1 found in 500 mL of the drink.") I understood how to calculate this because we went over it in class of Friday, however because I was unsure of my calculations in the previous question I was unsure my solution for this question was correct. The numbers I got seemed to be larger than the ones that we calculated in class. I also feel I did a insufficient job on the lab. I think my procedure was not in depth enough and in general I did a sloppy job in formatting the entire lab. That is certainly something I need to improve on next time.

Of the concepts that we covered this week I feel as though I have a sufficient understanding of the mole and dimensional analysis. I don't have an as strong understanding of Molarity and I think that I need to go over that more. With that being said, this week I got a better understanding of the mole and I have learned to think of it more as a quantity rather than a unit with mass.